RackScan installation
Important Notice - In June 2024, we released a new version of our Inventory system. Updated documentation for the Inventory is available in our new Support Portal. All documentation for the entire eLabNext platform will be fully migrated to the new Support Portal over the course of 2024. Start using the new Inventory documentation.
The Eppendorf RackScan integration is available as an add-on in eLabJournal. Navigate to Marketplace to install with the installation of the RackScan add-on.
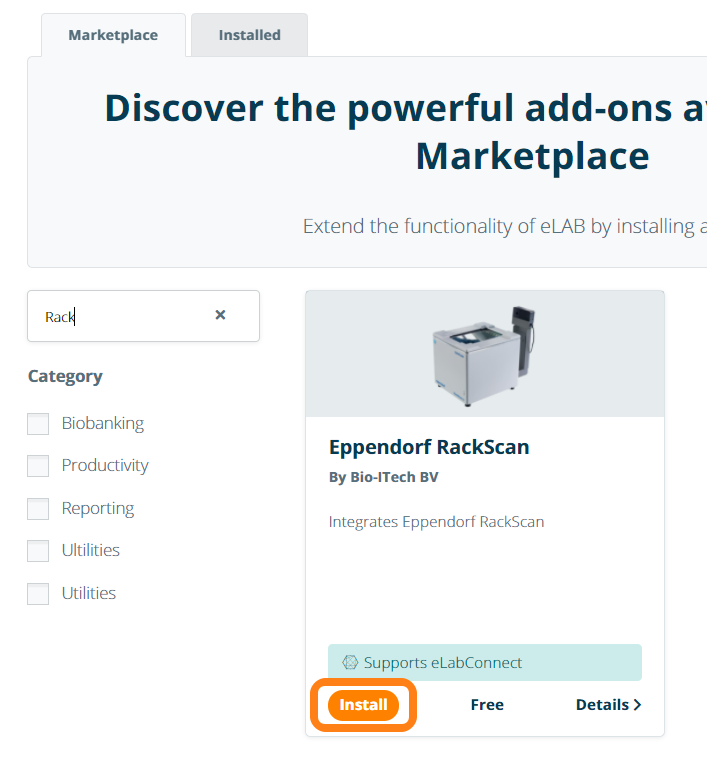
Note, this add-on has been developed and validated with the Eppendorf RackScan B and RackScan S. This add-on also works with certain models from other vendors, including Ziath and FluidX rack scanners. Due to lack of support in generating an XML scan output file, this add-on does not work for Micronic and VisionMate™. For more information, please contact us.
1 - Installation of eLabConnect (Optional)
This add-on works with eLabConnect. For an automated communication between RackScan and eLabJournal, installation of eLabConnect is required (i.e manual uploading of scanner output files is supported without the need to use eLabConnect).
- Download eLabConnect
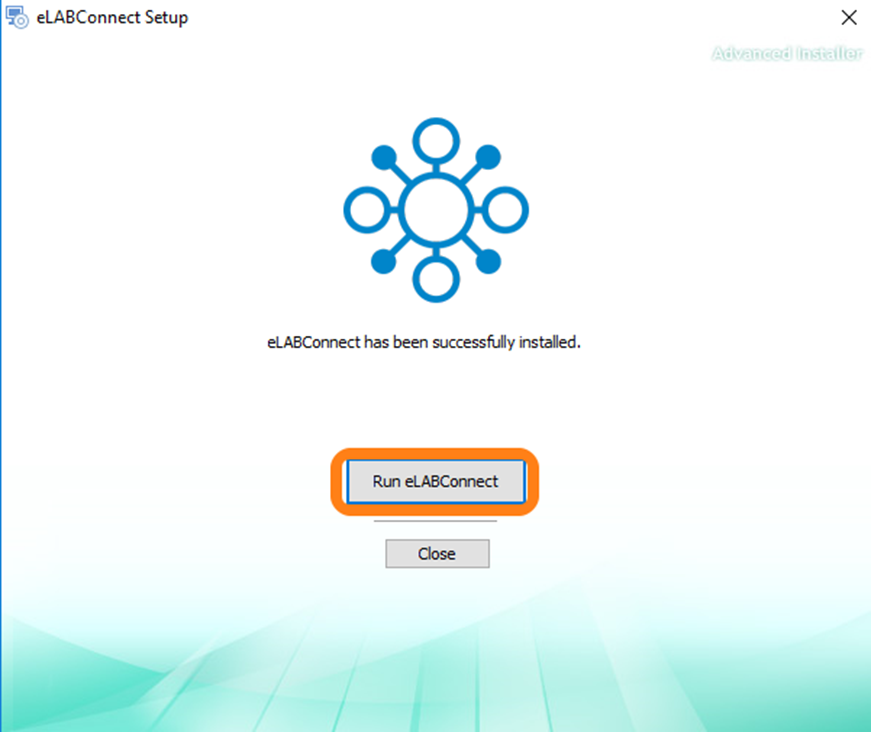
- Run the Installation wizard to install eLabConnect
- After installation choose Run eLabConnect
If you have already installed eLabConnect, please proceed to 2 – Configuring eLabConnect.
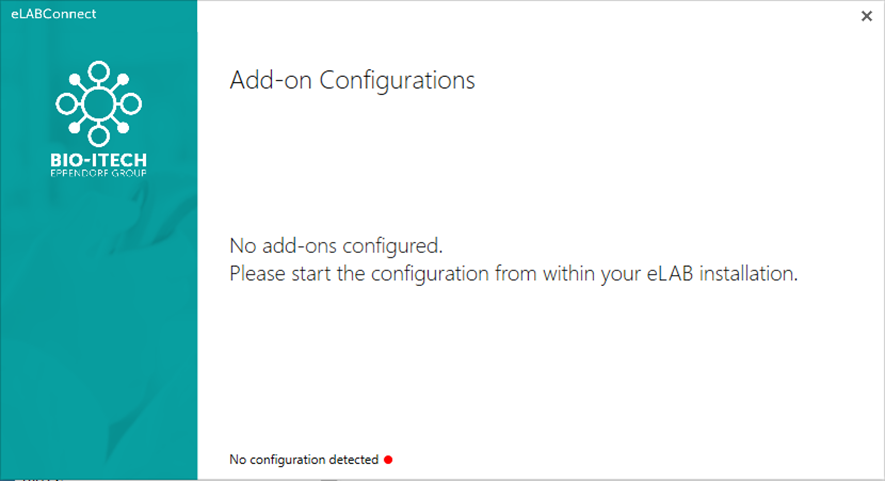
After running eLABConnect, eLABConnect is opened. In case you have not used eLabConnect before, eLabConnect will show No add-ons configured.
2 - Configuring eLABConnect
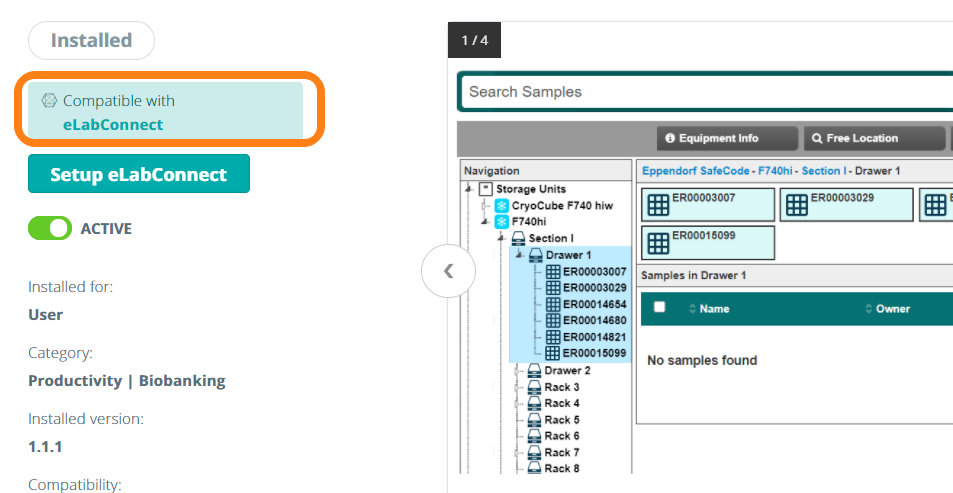
After the installation of eLabConnect, the next step is to add a configuration to eLabConnect to connect it to RackScan. To do so, find the RackScan add-on in the installed add-ons in Marketplace and click Setup eLabConnect
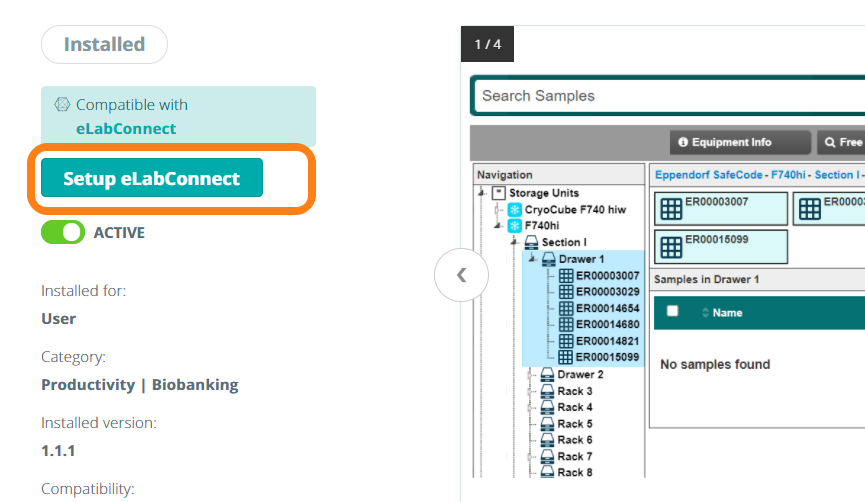
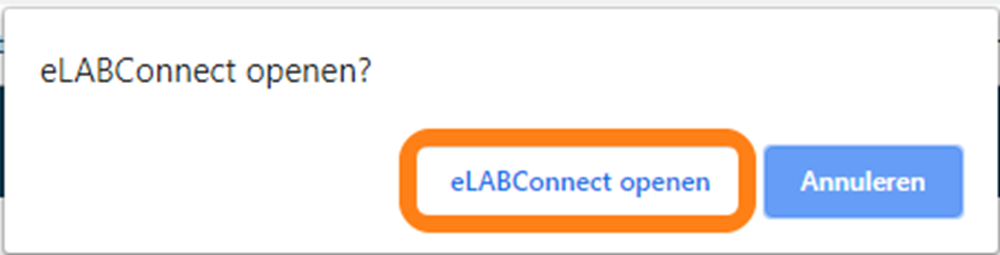
Activating eLabConnect will open a dialogue in your browser to confirm the opening of eLabConnect and to establish the connection between the browser running eLabJournal and eLabConnect.
- Confirm the Opening of eLabConnect
eLabConnect will open with the option to select the folder on your computer that will be used to retrieve the files generated by RackScan. Note that this window may open behind any of the other open windows.
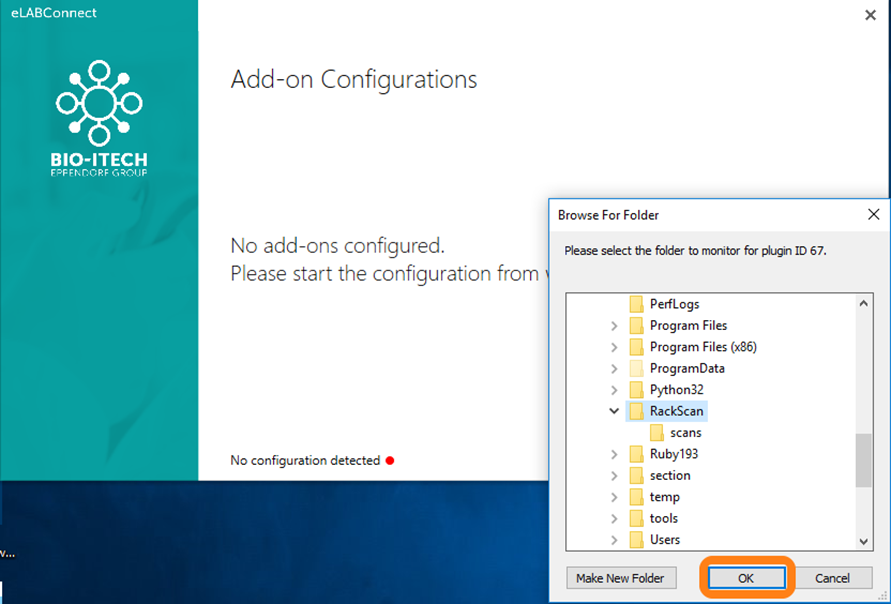
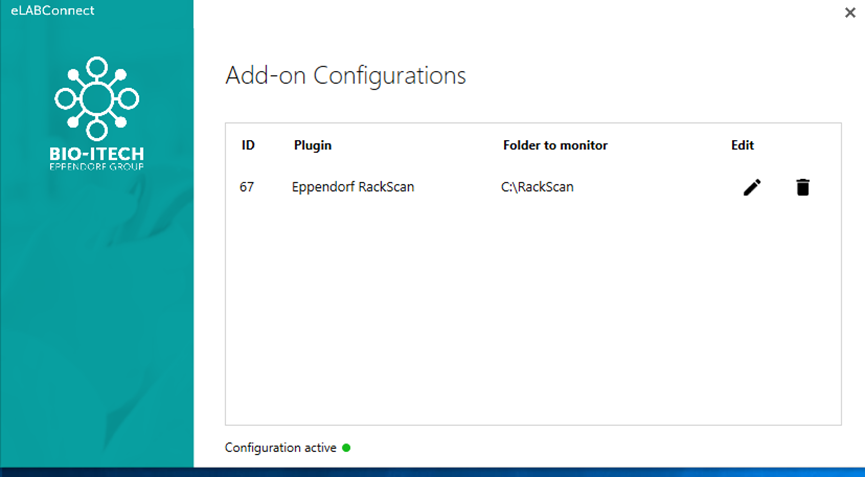
Select the folder that is set as the Default export directory in the RackScan Analyzer™ Software (see 3 - Configuring Eppendorf RackScan Analyzer™) or create a new folder. After selecting the folder RackScan add-on configuration will then be set-up.
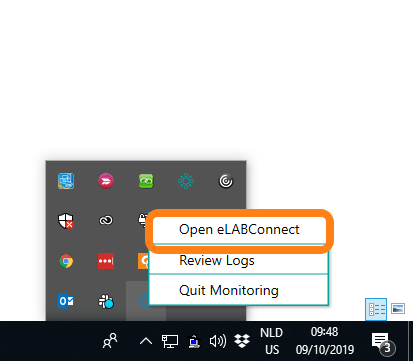
If eLabConnect does not open automatically, Open eLABConnect from your System Tray using the right-mouse click action on the eLabConnect icon.
3 - Configuring Eppendorf RackScan Analyzer™
Once eLabConnect is configured, the next step is to set up the File Export settings in the RackScan Analyzer™ software
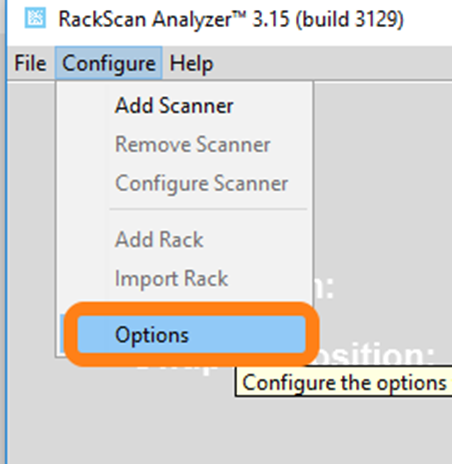
- Open RackScan Analyzer™
- Click Options in the Configure menu
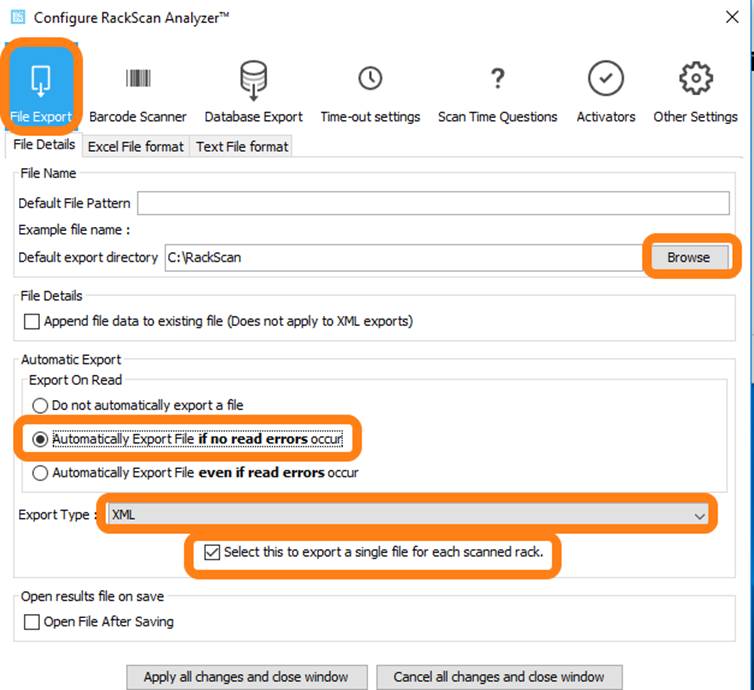
In the File Export tab set the following settings:
- Default export directory – this should be the same as the selected folder in the eLabConnect configuration
- Automatic Export - Should be set to Automatic Export File if no read errors occur
- Export Type – XML and select the option
After setting these settings click Apply all changes and close window. After this step, the RackScan add-on configuration has been completed and you can proceed with scanning racks. Find more information about how to use the RackScan add-on here.