Adding Samples
Important Notice - In June 2024, we released a new version of our Inventory system. Updated documentation for the Inventory is available in our new Support Portal. All documentation for the entire eLabNext platform will be fully migrated to the new Support Portal over the course of 2024. Start using the new Inventory documentation.
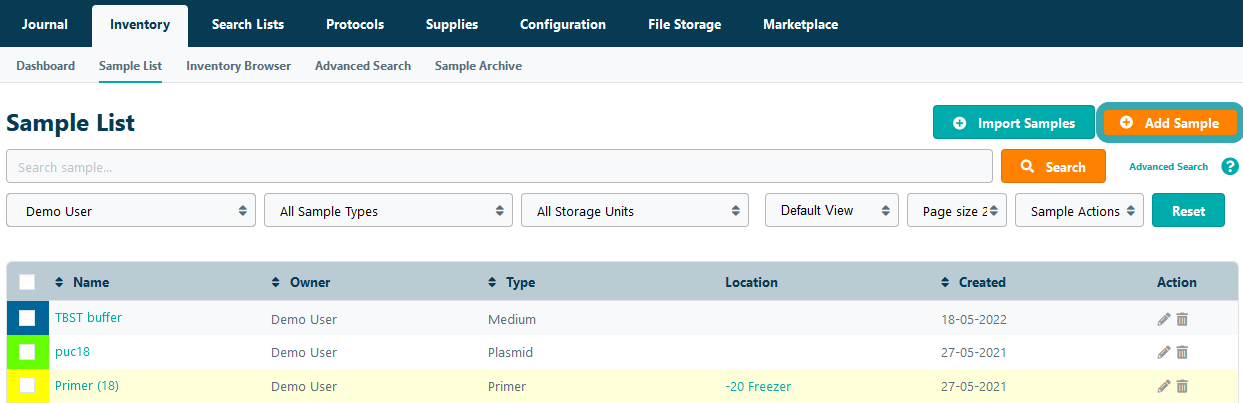
To store a new sample in to the lab's inventory, navigate to the Sample List page under the Inventory tab and click the Add button. Note that you should first define a Storage Unit and a Sample Type before adding a sample. In case, sample names should be auto-generated, you can additionally configure this in the Sample Type settings
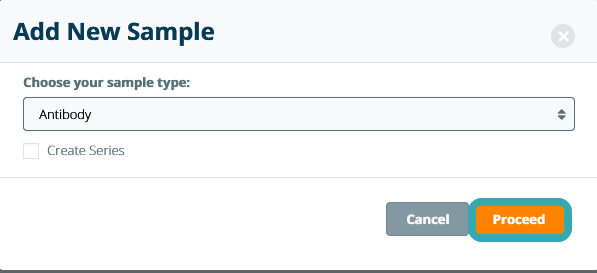
In the pop-up window, you can select the type of sample you want to store. Note that the Sample Types available for each lab can be easily be configured according to the lab requirements.
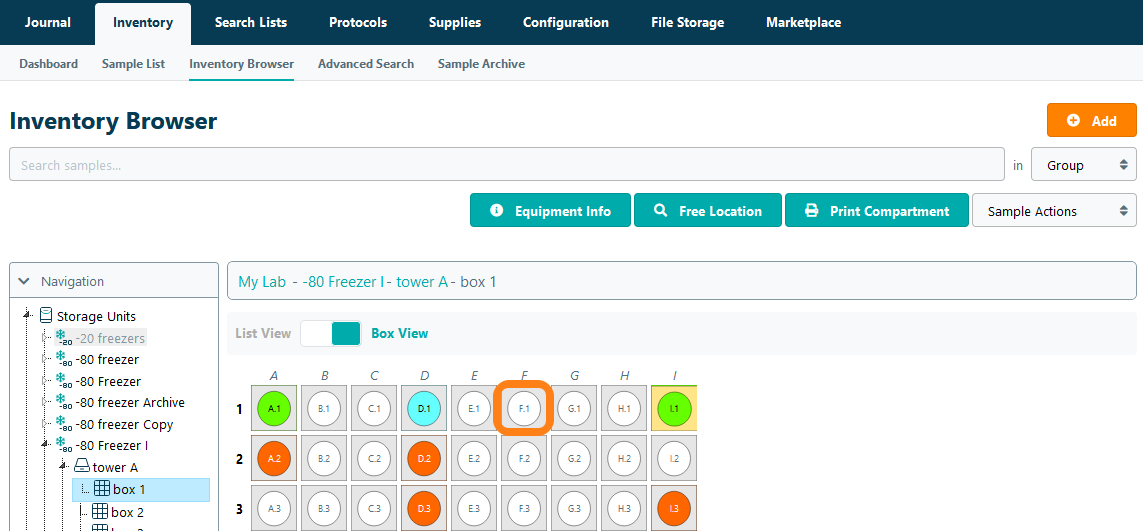
You can also add a sample by navigating to the location where you want to store the sample in the Inventory Browser. Within a box, click an empty position in the box to open the creation window.
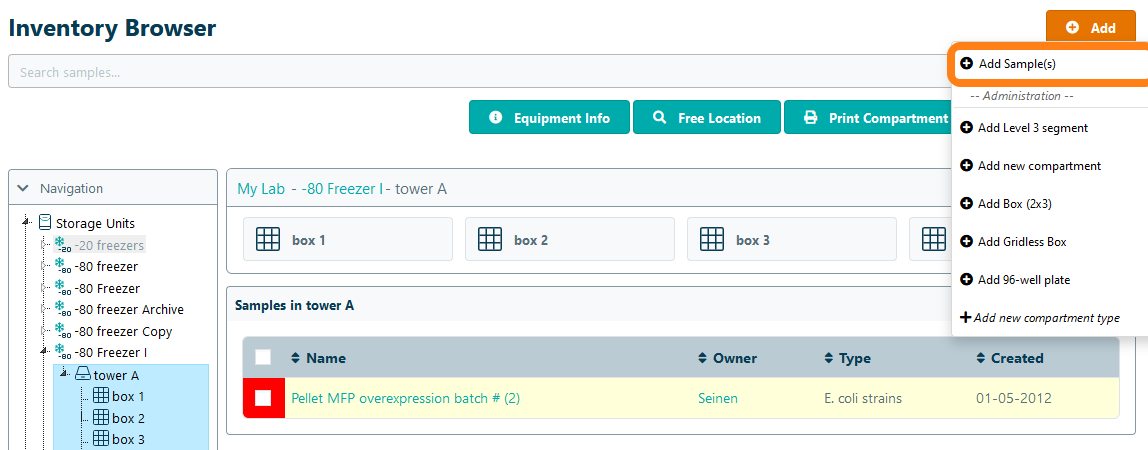
To add samples to compartments without a grid (e.g. a drawer or a tower), click the Add button in the Inventory Browser and choose the Add Sample option.
Next, input the sample details into the sample information form. There are standard fields to enter a Name, a Description, the Storage Location and Notes, as well as sample specification fields, which are the custom fields that you can define when configuring your sample types. If you have the Supplies module enabled, you can also track sample quantities.
