Configuring ZPL labels
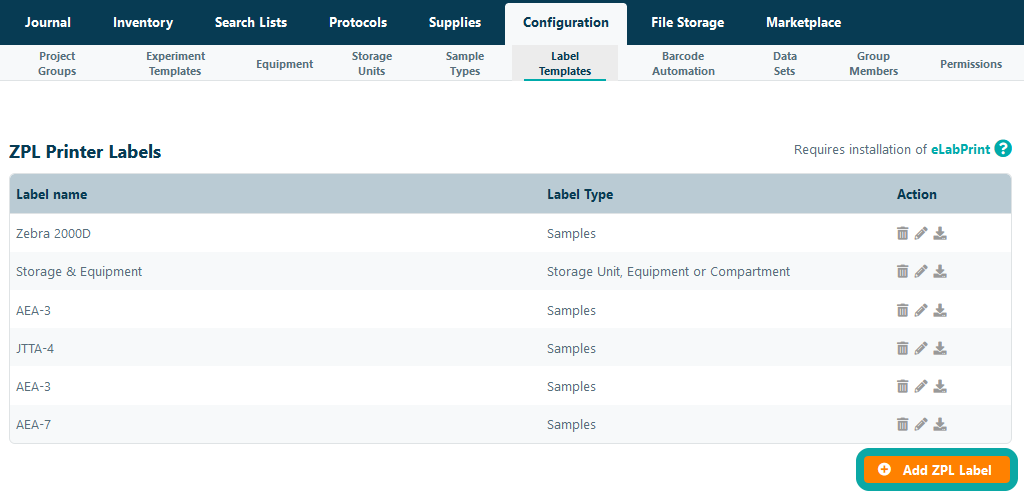
To print labels using a Zebra© Label Writer, you should first configure a so-called ZPL (Zebra Programming Language) label template. Open Print Label Templates in the Configuration menu and click Add ZPL Label. Note that you should first follow the ZPL label printer installation instructions and activate the ZPL label print option in eLabJournal to configure a ZPL label. When creating labels, separate label templates should be created for samples, sample series, and storage units, equipment or compartments.
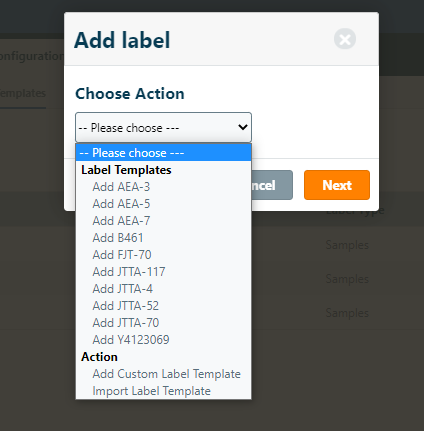
In the next step, you can choose to add one of the default templates, add a custom template or import a template. The recommended option is to request a ZPL label template of the vendor of the labels you purchase or to create the label template in the software that is provided in the printer software. After you exported or received the formatted label template (.zpl file) you can upload the label template. When creating a custom label, you can also copy and paste label templates from one of the various free ZPL label template generators such as Labelary
After importing or creating a label, you can complete the label configuration in the ZPL Label Configurator and include the fields in eLabJournal. In the ZPL label configurator, a preview of the label is displayed in the label preview that is generated of the imported or chosen ZPL template. Here you can choose the following settings:
- Name - Name or description of the label template
- Template type - Sets the template type and defines if the created label template is used for or printing labels for samples, samples series, or storage units (compartments) and equipment
- Field Tokens - Supported fields for printing labels. (note that available field options are dependent on the chosen template type)
- Print mode - Setting that defines what happens when the print job is started (automatic will send the print job directly to the default printer, while the other settings force the appearance of the computer print dialogue)
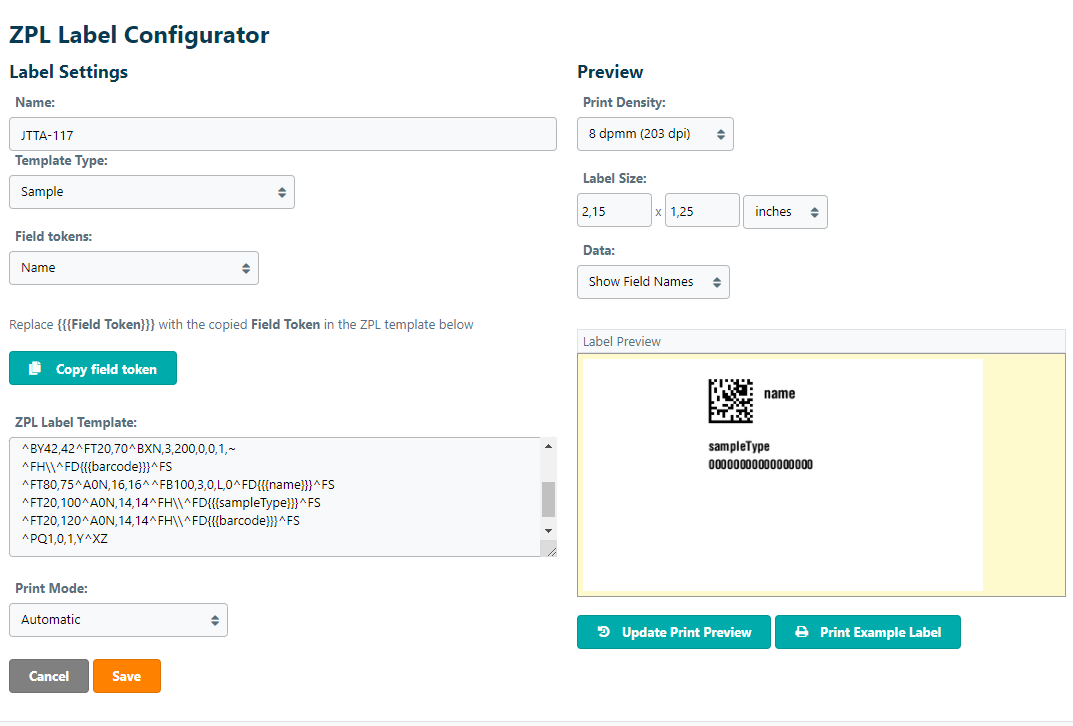
To adjust the label templates that the eLabJournal fields are printed on the labels, you should include or replace the text by the available field tokens. Select the Field Token to be included in the label template in the dropdown menu and click Copy field token. Next, select the line, or text in the ZPL template and replace this by the copied field token on the clipboard using paste (CTRL+V). You can confirm if the token was correctly included in the template, by updating the Print Preview or printing an Example Label. The following fields are available to be included when printing a label:
For printing labels for samples:
- Name - the sample name
- ID - the ID of the sample (same as the 2D barcode)
- Owner - The owner of the sample
- Description - the description of the sample
- Location - location where the sample is stored
- Sample Type - sample type of the sample
- Sample Specification Field - one of the custom fields created in the sample type
For printing labels for sample series:
- Name - the sample series name
- ID - the ID number of the sample series (same as the 2D barcode)
- Owner - The owner of the sample series
- Sample Type - the sample type of the sample series
For printing labels for storage units, compartments and equipment:
- Name - the storage unit/compartment/equipment name
- ID - the ID number of the storage unit/compartment/equipment name (same as the number in generated 2D barcode)
- Creation Date - Date when the storage unit is created
- Storage - Prints storage
- Location - location where the compartment/equipment is stored
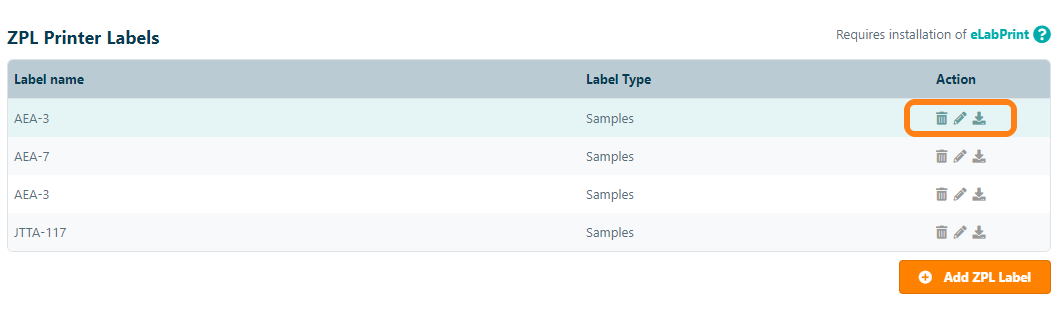
After replacing the field tokens and customizing the label template to your preferences, click Save . The created template is now added to the list of label templates. Here you can edit, delete or download the label template. The created label templates are now available for printing labels of samples, samples series, compartments and equipment. Note that you should create separate templates for each of the these types.