Getting Started with SDK
Once you are enrolled in the developer programme and you have access to the SDK development environment, you can start with SDK add-on development.
Start by navigating to the Developer tab in My Account to access the developer settings.
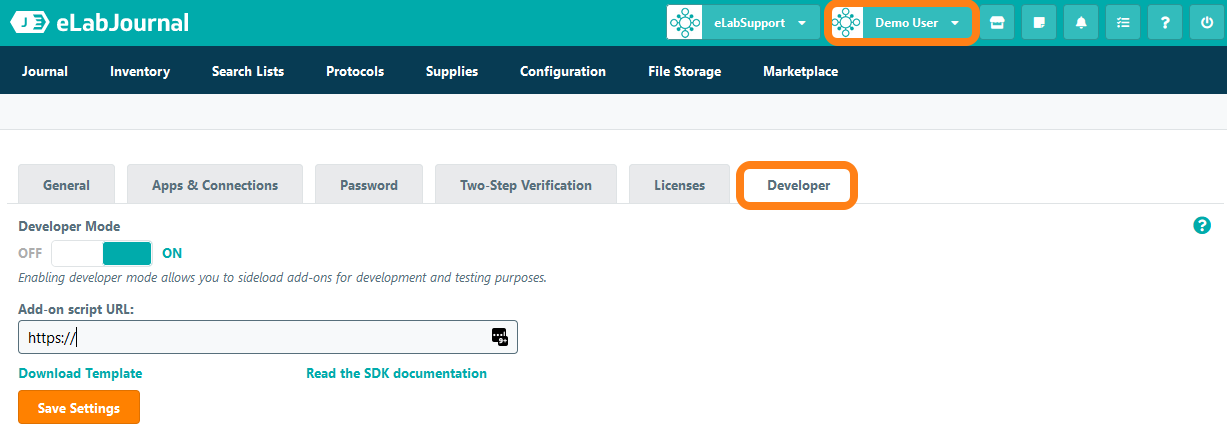
Here you can find the following options:
- Enable the developer mode for your account - Switch on to allow side-loading of the SDK add-on for development and testing
- Script URL - Set the hosting location for the SDK add-on script on your local computer
- Download SDK template - Download a template to set-up an SDK add-on.
Start by downloading the template script file by clicking Download Template.
After opening the SDK template script file in your favourite script editor, the contents of a basic add-on is loaded. The add-on template can also be used to confirm the installation of the first example add-on for testing the SKD developer set-up (see set-up SDK development environment).
SDK add-on structure
The add-on template consists of a few basic components:
Header
The header contains the basic information about the add-on specified by the following information
- @rootVar - scope variable dedicated to the SDK add-on
- @name - name or title of the SDK add-on
- @description: - Description of the functionality or feature of the SDK add-on
- @version - version of the SDK add-on
- @author - author that developed the SDK add-on
- @class: - your class name (optional)
- @extends: - your extended class name (optional)
Namespace
The namespace or rootvar is the scoped variable which contains the class constructor. This needs to be unique within the eLAB platform.
Example
var nameSpace = {};
Class declaration
To keep add-on code and organized the eLAB SDK supports the use of functions and methods, to keep these code blocks organized we make use of classes. Within the eLAB SDK we also use classes to make it possible to reuse them elsewhere in our code. By creating classes it becomes easy to include existing code logic quickly without duplication of functions within the code base. We simply declare a new instance of a class and we are ready to go make use of all functions defined in the add-on. See examples below:
Scoped functionality
(function(context){});
/** Class declaration **/
context.ClassName = new Class({});
/** Implements | Include required external functionalities **/
Implements: [Options, Events],
Options
options: {
content: ''
},
initialize: function (config) {
var defaultConfig = {
content:'html content'
};
config = $.extend(true, defaultConfig, config);
this.setOptions(config);
},
Custom functions
/**
* @function render - outputs data to the console
* @param {object} config
* @param {int} config.content
**/
render: function (config) {
if(config){
console.log(config.content);
} else{
console.log(this.options.content);
}
},
Storing and retrieving option data
/** setting the options **/
object.content value
this.setOptions({
content:value
});
/** reading option values **/
var content = this.option.content;
Trigger the render() function
}) (nameSpace); **/ close the scoped function
var output = new nameSpace.ClassName({content:'output data to console'}).render();
You can access the SDK documentation of eLabJournal Cloud at https://www.elabjournal.com/docs/eLABSDK/.