Adding Groups
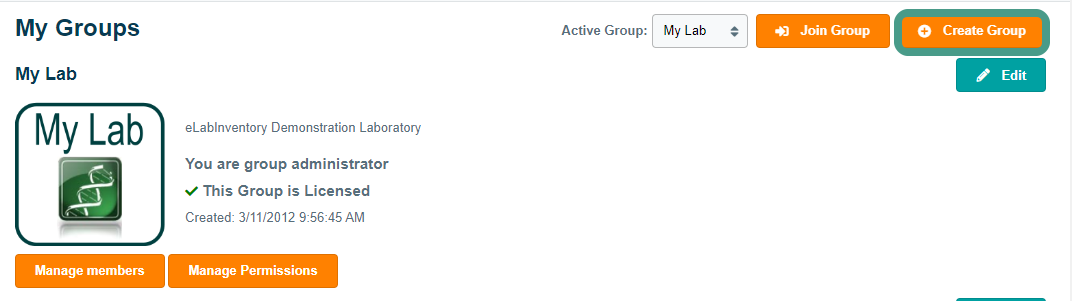
If your lab is new to any of our applications, your first step should be to set up a group where you can share data with other co-workers in your organization. Navigate to Manage Groups.

Click Create Group to create a new group.
Choose a name for your group and click Next to create the group.

In the next step, you may specify the following group information:
- Name – modify the earlier chosen group name
- Description – a description of your group's purpose, goals, position within an organization, etc.
- Website – a link to the website of your lab or organization
- Join settings – choose how you want others to join your lab (default setting is a private group which allows others to send requests to join the group)
- Logo – upload a logo of your lab or organisation
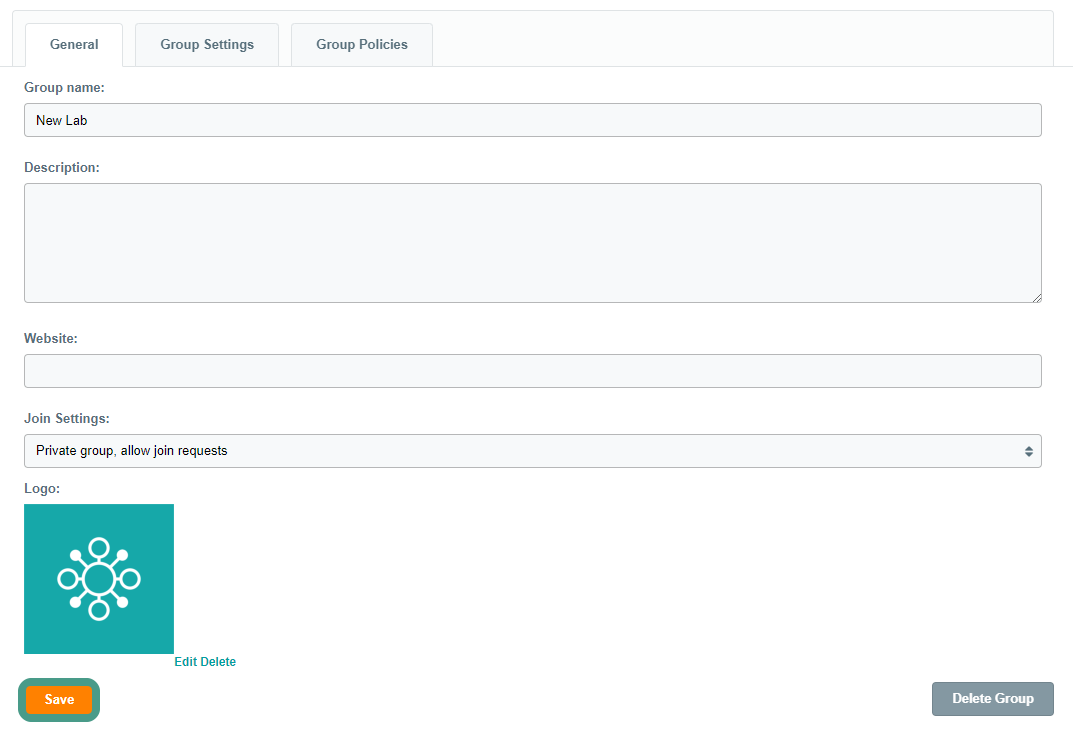
Click Save to confirm your group information. When creating a group, you can also modify and set Group Settings and Group Policies. If you create a second group, you can easily change the active group in My Groups. Note that the group must be licensed before you may invite additional lab members. Please contact us to upgrade your license. Note that if your organization has a Private Cloud or an On-Premises installation, the organization's key user may choose to disable the option for end-users to add or invite other users to a group.