Chemical Reactions
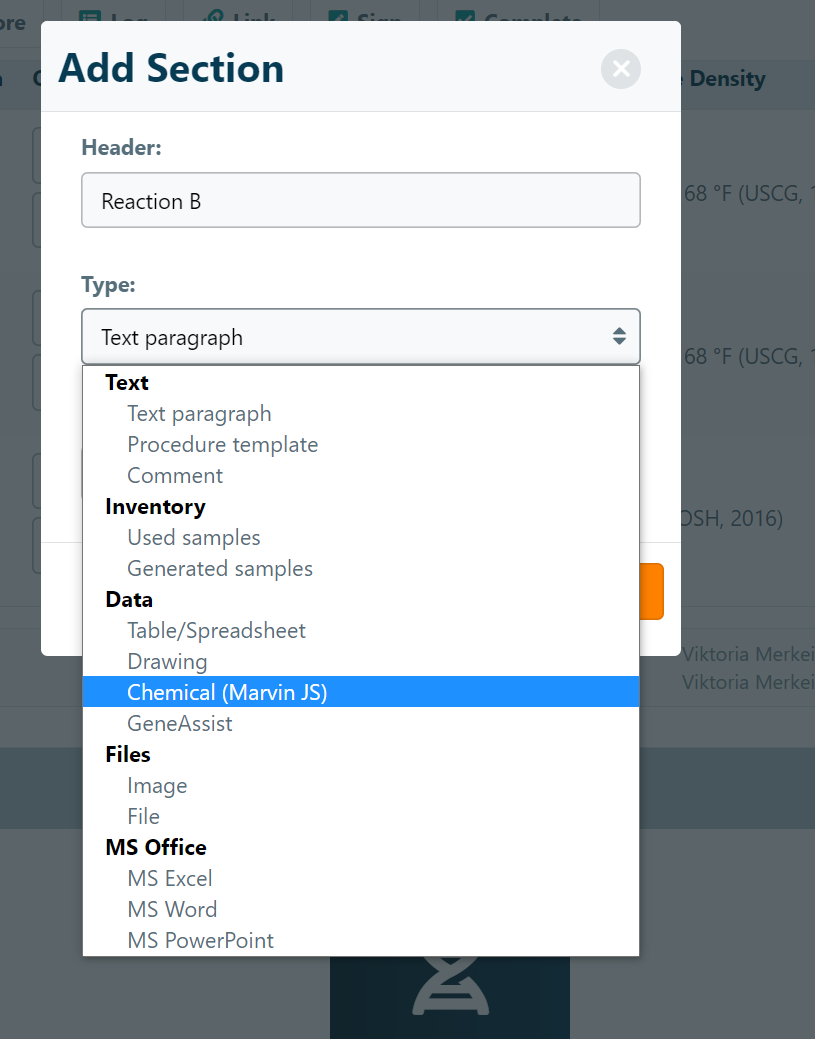
ChemAssist expands on the existing functionality of the MarvinJS add-on by adding reaction tables and analysis tools to chemical sections within the ELN. To create a chemical section within an experiment, click the Add New Section at the bottom of the experiment page and select the section type “Chemical”.
The Chemical section’s sketchpad is powered by the Marvin JS add-on.
Generating a Reaction Table
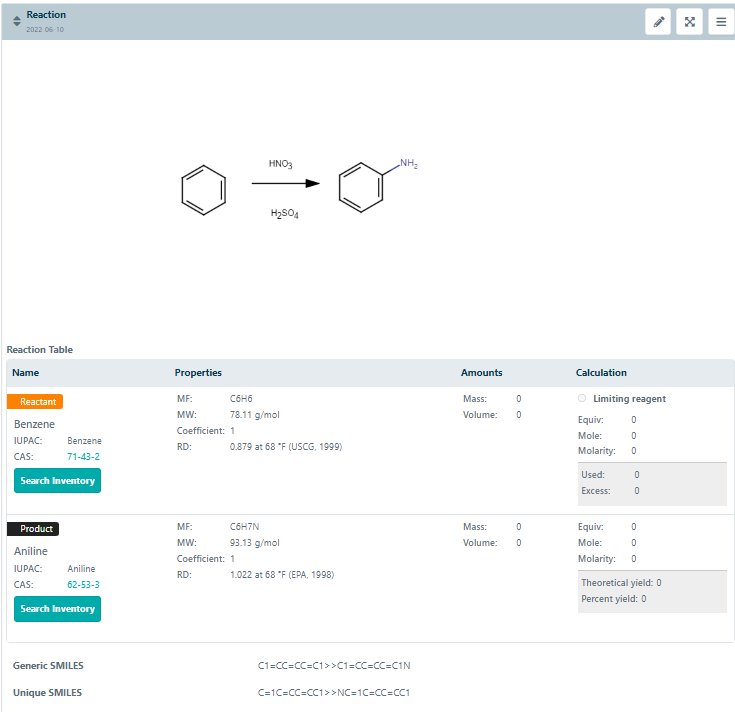
To model a reaction, select the Straight Arrow / Reaction / Atom Map button in the left-hand toolbar and click-and-drag the space between two chemical structures on the sketchpad to draw the arrow. ChemAssist will automatically generate a table beneath the sketchpad using data pulled from the PubChem API, including the IUPACs and CAS numbers of the reaction components.
Conducting analysis with the Reaction Table
The reaction table contains a combination of information that is either automatically generated or input directly by the user. Naming and Properties are filled in automatically and are pulled from the PubChem API into eLabJournal (Name, IUPAC, CAS, MF, MW, RD fields).
The following fields require additional user input:
- Coefficient - accepts numbers as field input. The number placed in front of a chemical reactants that shows how many molecules are involved in the reaction. The system uses this value to calculate Theoretical Yield, Used and Excess fields.
- Mass - accepts the amount of the given reactant in mass. Unit can be changed in the given drop-down menu. The system uses this value to calculate the Mole field. Changing the unit for the Mole or for the Mass will cause the recalculation of one and another fields.
- Volume - the amount of the given reactant in volume. Unit can be changed in the given drop-down menu. The system uses this value and the Mole field value together to calculate The Molarity field. Changing the unit for the Volume, Mole and Mass will cause the recalculation of Molarity fields.
- Limiting Reagent - choosing a reactant as a limiting reagent by clicking on the radio button, defines the reactant as limiting agent that limits how much product can be formed.
- Equiv: “Equiv” is a symbol for equivalent, what is the amount of a substance that reacts with (or is equivalent to) an arbitrary amount (typically one mole) of another substance in a given chemical reaction. Equiv is calculated automatically for reactants based on the fields of Limiting reactant and mass. The chosen limiting reactant always has the Equiv set to one.
The following fields are automatically populated based on user input within the reaction table:
- Mole - the system uses Mass value to calculate the Mole field. Changing the unit for the Mole or for the Mass will cause the recalculation of one and another fields.
- Molarity - the system uses the value Volume and the Mole field value together to calculate The Molarity field. Changing the unit for the Volume, Mole and Mass will cause the recalculation of Molarity fields.
- Used - used amount of reactant in grams
- Excess - excess amount of reactant, in case of not being the limiting reagent. Minus value means missing amount of reactant
- Theoretical yield - yield in grams based on the provided values limiting reagent’s mass and coefficient
- Percent yield - yield in percentages based on the provided product’s mass values
If the molecules/ compounds are entered by using a textbox the system does not consider them as a reactant.
Note: Non-organic solvents are not added to the reaction table. Organic solvent’s structure needs to be drawn to be recognized automatically in the Reaction table.
Adding new compounds from Inventory to your experiments directly from Reaction Table
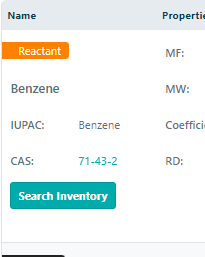
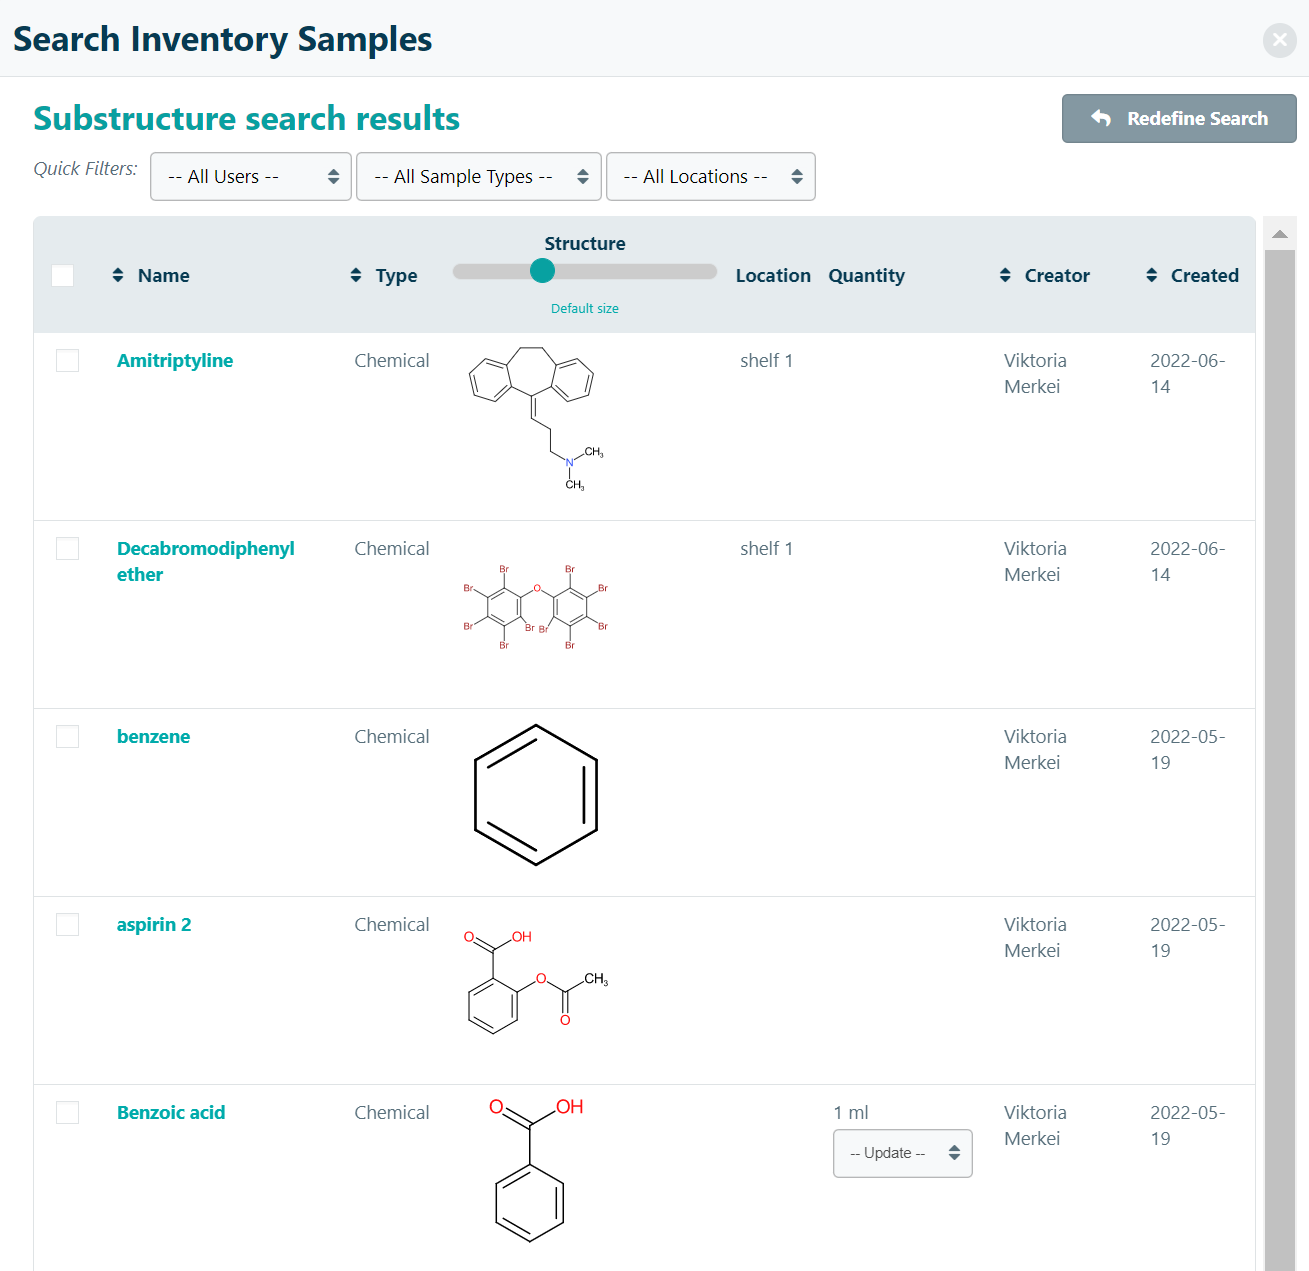
You can search for corresponding reactants or products in their Inventory and add them to a sample section within the experiment. Click on Search Inventory and then define the search parameters.

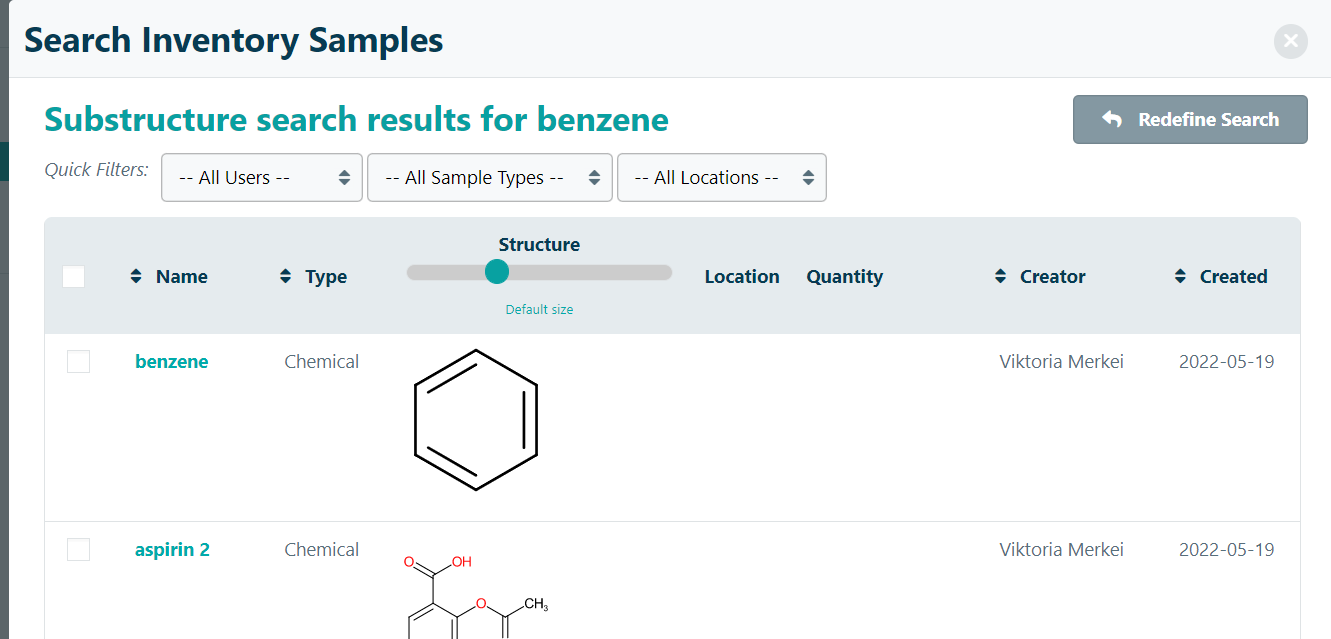
Once the search results are returned, users can select the checkbox next to a sample and click Add to experiment to confirm the selection.
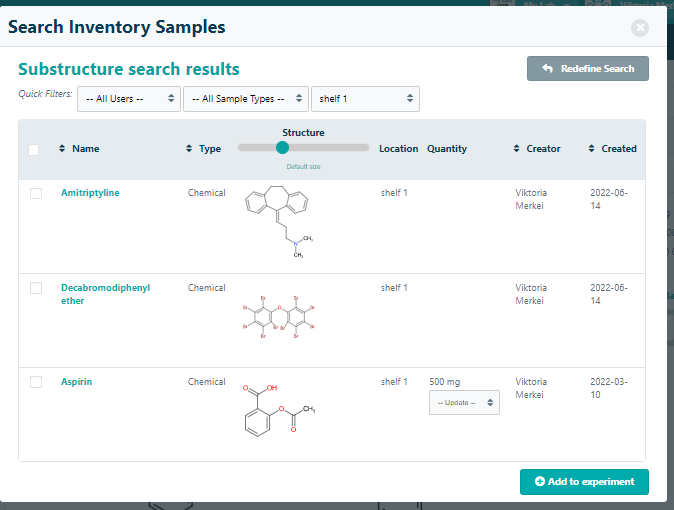
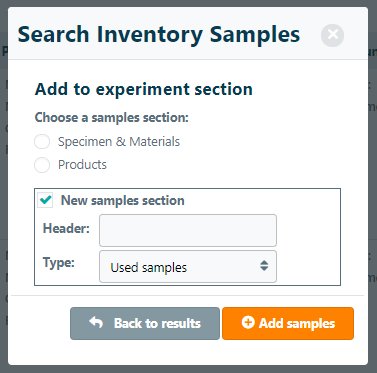
The system will identify pre-existing sample sections in the experiment and let you select where to add the sample. If a sample section does not exist yet, or if you want to create a new sample section, you can select the New samples section option and click Add samples button to expand the window and set the header and section type. When clicking Add samples will add the sample to the selected section option.