Sample Section
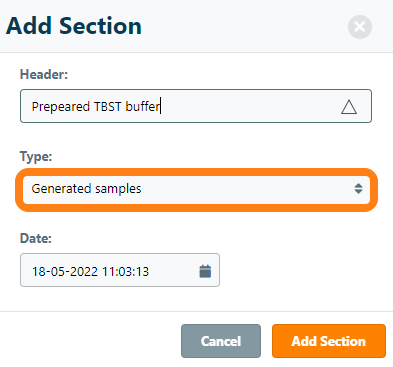
To link samples from the lab inventory in the ELN, choose one of the Sample Section options. The Used samples section link samples that you have used in the experiment, whereas the Generated samples links samples have been created during the experiment.
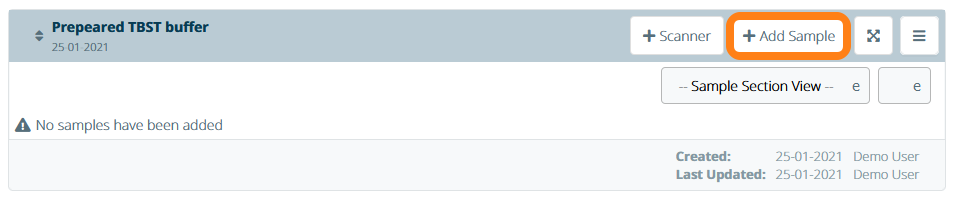
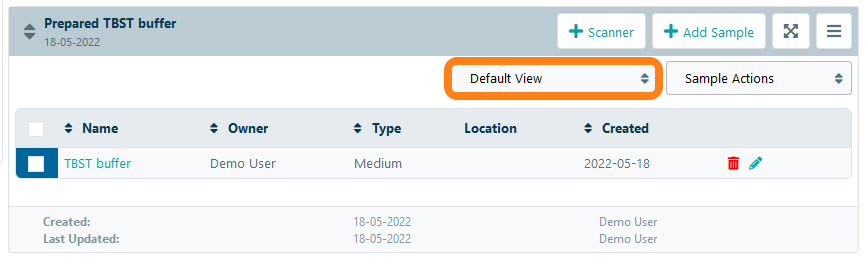
After a sample section is added, click on Add Sample to link a sample to the experiment. You can choose to either create and link a new sample or select an existing sample to link from the lab inventory.
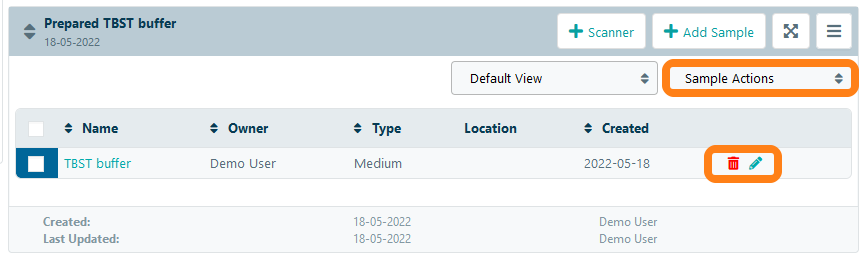
Once you link a sample, it will be listed in the sample table. From there, you can update the sample's information or remove the sample from the section. Note: samples can either be removed from the section list or archived.
In the sample actions dropdown menu, you can perform the following actions:
- Move Sample - Move samples to a different storage location
- Print Label - Print Labels by installing one of the supported label printers through the Marketplace
- Delete Sample - Archive a sample to remove it from the lab inventory
- Remove from Section - Remove a sample from a section. Note: archived samples will remain listed in the sample section. To remove and archive samples in bulk, first archive the samples and then remove them from the section.
- Change Owner - Change the owner of a sample
With custom sample views, you can decide which information to display in the sample section table.
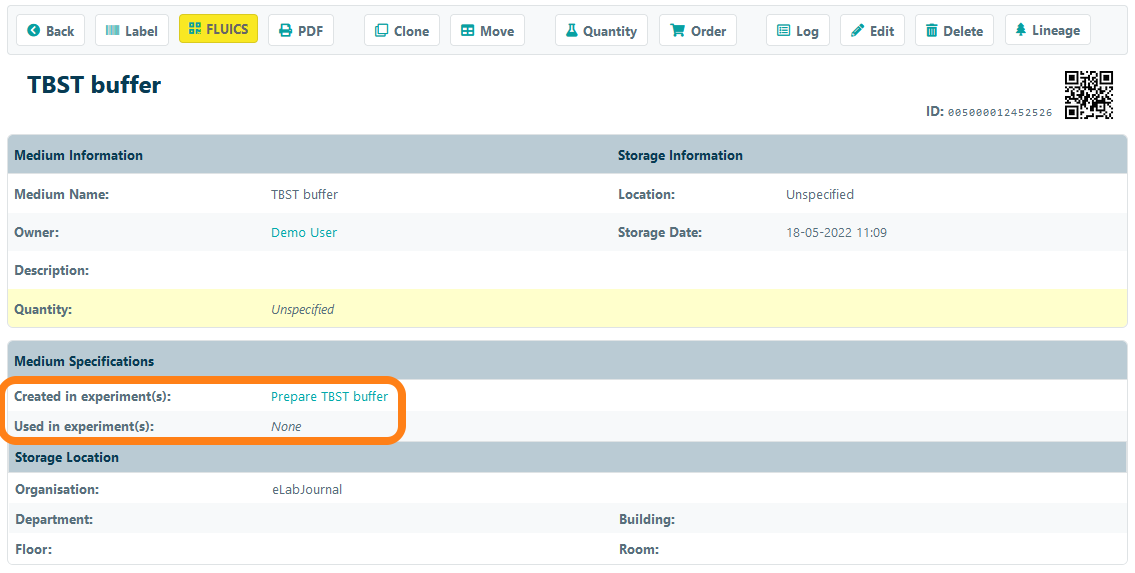
When a sample is linked to an experiment, the link is automatically listed in the corresponding field on the sample information sheet. This allows you to easily track experiments in which a sample has either been used or generated.